Prepared By arnolds
Thanks to Lefty, AK, EricS, and Mug
Purpose: To add an auxilliary audio input using the Tape deck audio outputs. The audio input will be used to connect an external MP3 player like the Apple IPOD.
Since I never use the tape deck, we decided that sacrificing tape functionality was acceptable. Basically, we cut the preamp output from the head unit that carries the tape audio signals to the rear of the car and spliced in the output from the MP3 player. You select the MP3 player from the head unit, we set the head unit to TAPE mode. A "dummy" cassette is always kept in the head unit in order to fool it into thinking tape is still a valid source"
Instructions:
1. Push button to make NAV Screen Tilt Out
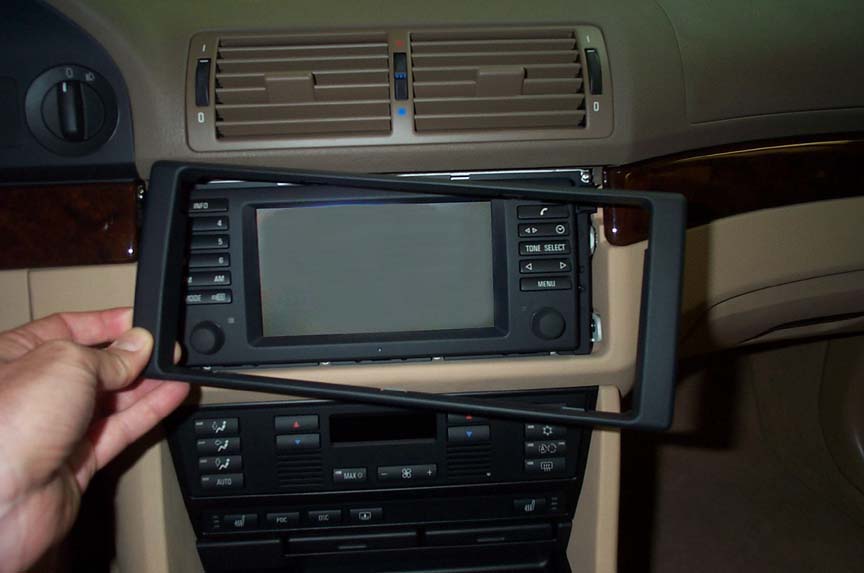
2. Quickly Yank Surrounding plastic Bezel off. You have 15 seconds before Nav Screen returns to normal Position. Yank the bottom off first and then the top.

Picture courtesy of Dave Zeckhausen
3. Remove 2 Screws (brass color) from each of the top corner. Remove 2 Screws (Brass Color) from the bottom of the unit.
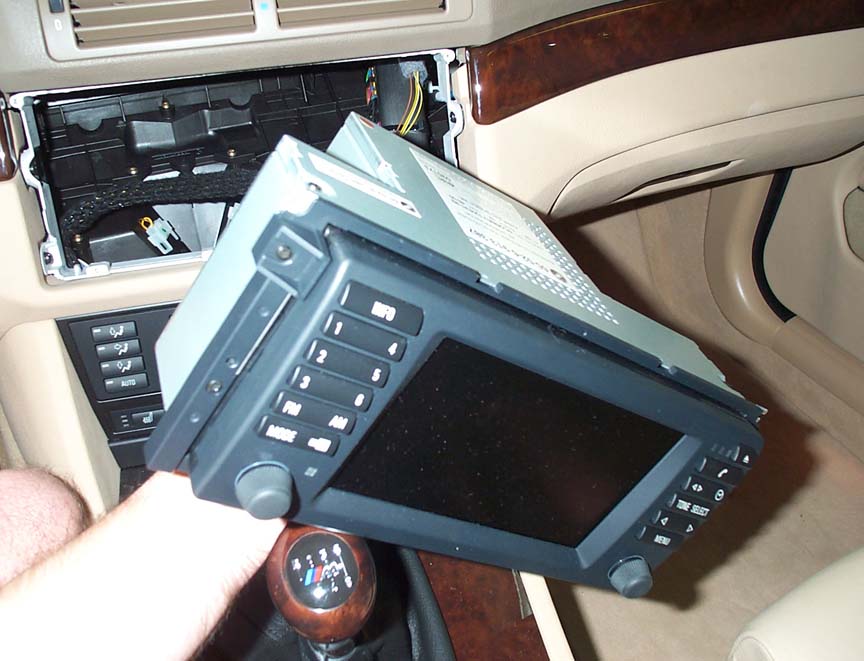
Picture courtesy of Dave Zeckhausen
4. Disconnect the two harnesses. One White (NAV Video Output etc) and Blue (Audio and power)
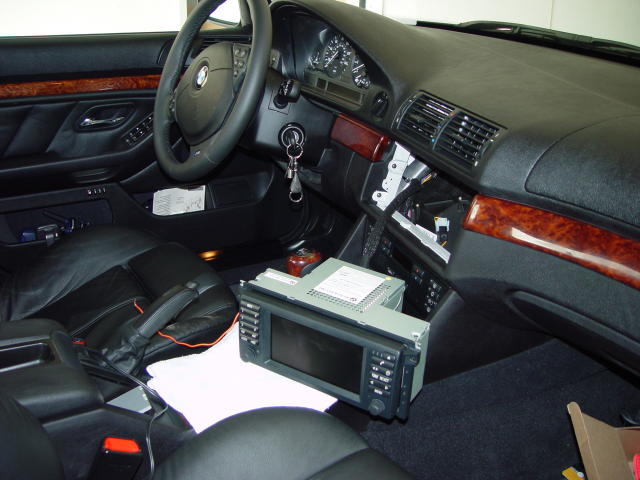
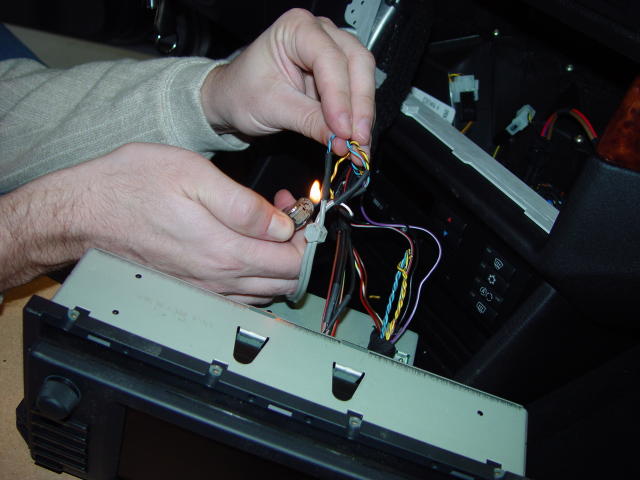
5. Locate the two Twisted pair wires (yellow=right channel, blue=left channel) from the blue connector wiring harness. We decided to cut these wires (leave enough length to reverse the process) so that any noise from the tape source is eliminated. Connect RCA(left and right) cables to these wires. < /STRONG>
6. Since the audio signal output from the
IPOD was low, we have to add a gain control in-between the ipod audio input and
the factory stereo tape deck audio input. We found this Audio
Control Pre-Amp Line Driver for 100
USD. We had to turn the gain all the way up.
Here's a rough Outline of the
connection.
IPOD OUTPUT ----- > Audio Control Input ------> Tape Deck
Audio Input Signal
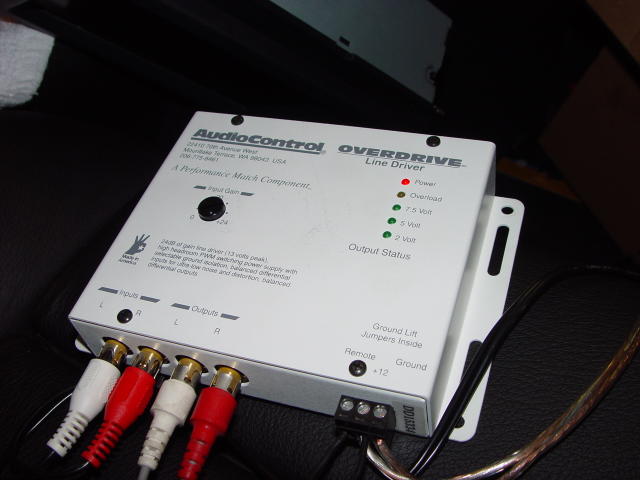
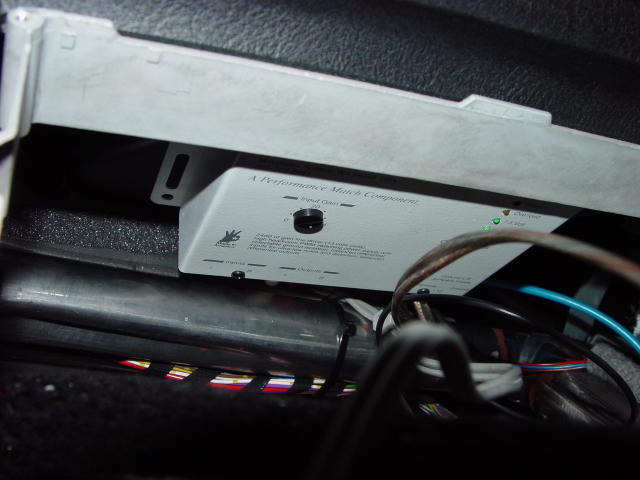
7. Connect 12V, Remote Turn On and Ground for the Audio Control Unit using existing harness that powers the NAV Screen. The Audio Control Unit fits nicely in the roof of the NAV Screen Cutout. Just use double sided tape to secure.
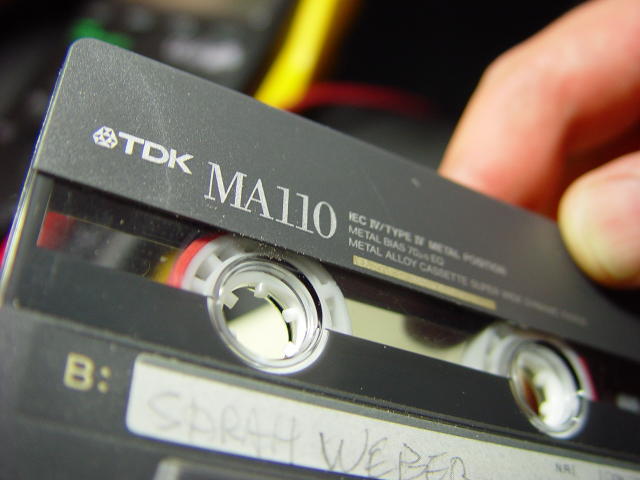
8. In order to fool the tape deck, we had to fashion a special cassette with no guts. Note the rubber band to ensure that both sides will spin.
9. I used a Radio Shack Cell Phone Holder Model # 17-548 and some Home Depot magic and mounted it using the small wood panel to the right of the steering wheel.
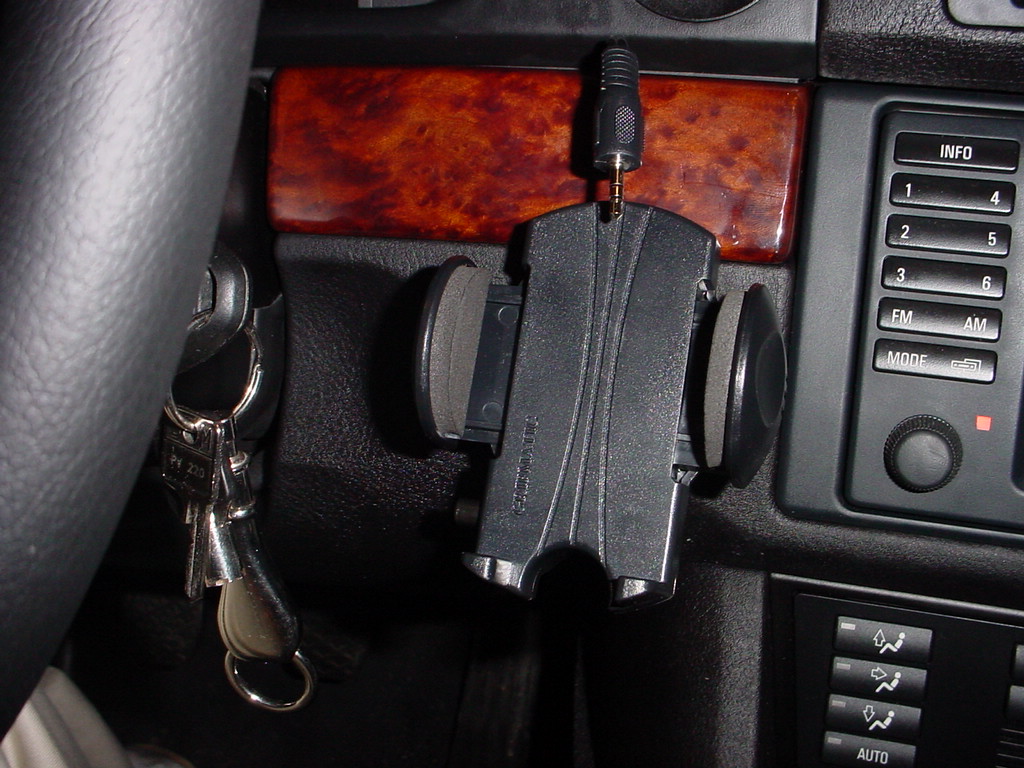
10. Finished Install - 5 Gigs of Music!!!
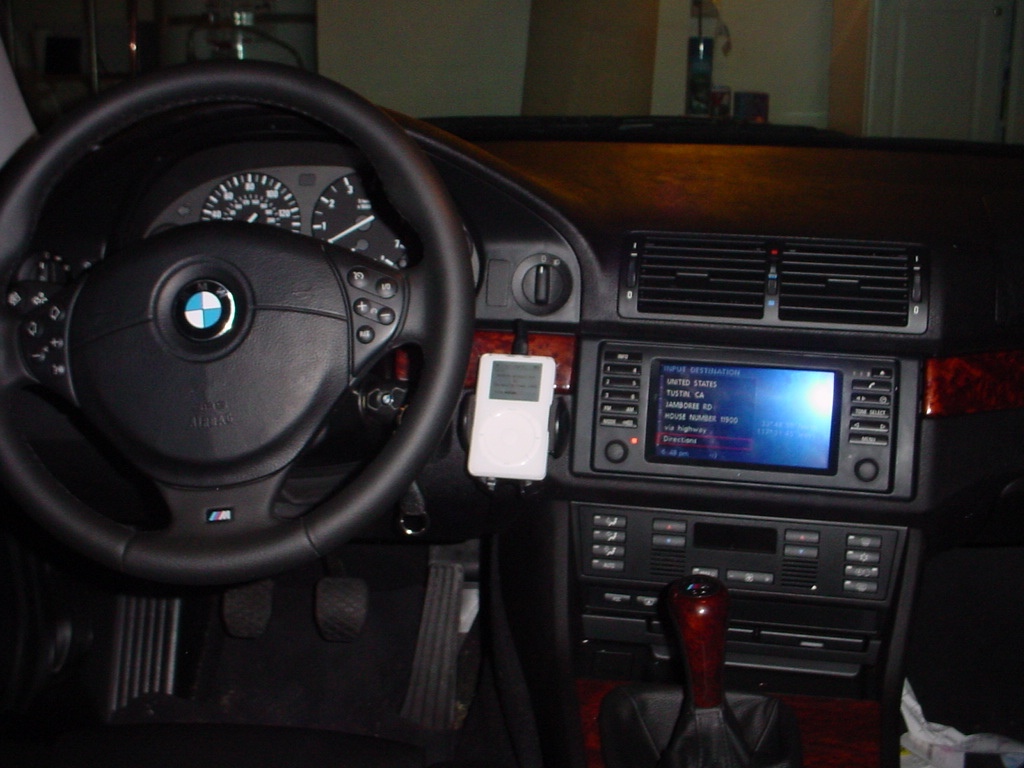
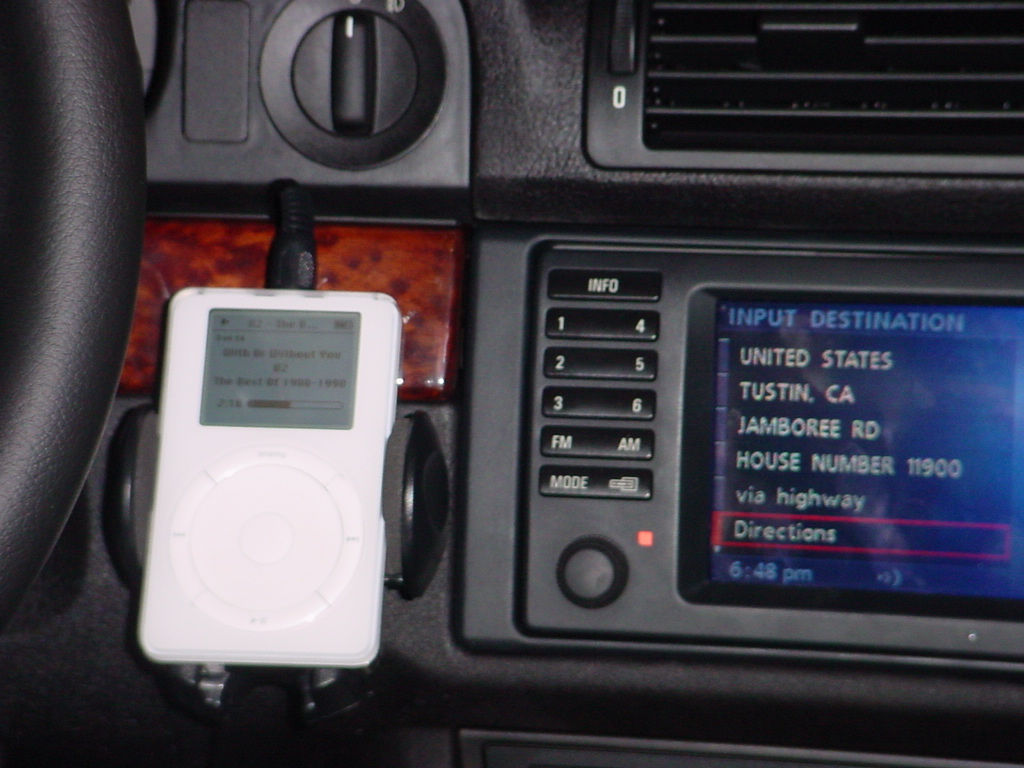
NEW UPDATE!!!! 07/30/2002
I just got the interface module from Blitzsafe Model#
BMW/ALP V.1 w/ Auxilliary Input Interface (make sure to mention aux...they
shipped me the wrong one prior to this one).
This is an updated
interface from Blitzsafe that comes with an RCA cable input to hook up an
external audio source such as an Apple Ipod or any other portable mp3 player
using the BMW Changer cables (DSP systems need not apply- no idea
why). Cost was $145.00 shipped via Fedex. This model allows one to
connect an aux plus an Alpine CD Changer simultaneously.
There is another
cheaper ($10 cheaper) model that eliminates the alpine cdchanger connector
input. I think PeripheralInterfaces make a similar product.
I wanted a cleaner and less invasive install and blitzsafe
finally got their product out (BTW...their website needs to get updated).
The audio comes out thru the head unit as CD #1. The sound seems a
little clearer thru the CD changer cables without the line driver than the Tape
deck audio link with the line-driver. Now, I just need to run a long RCA cable
from the rear of the car to the front.
Now if apple ever comes out with
the remote control for the Ipod, I will definitely try to hook up the steering
wheel controls. BTW, www.mediafour.com has software that allows the Ipod to be
connected to a windows pc with firewire.
arnolds