Installation of Diana Cold Air Intake
Submitted by Peter Federlin 4-19-00
In general the included instructions are very good, though the pictures
lack resolution to identify components. Having done this I am glad I did
not trust anyone else to do this, being very particular about things.
Who else but yourself cares about every little scratch/ding etc. The below
describes hints and additional items over the suggestions from Dinan.
Car details
- 98 540I 6speed
- AVS sport tires 275/40 rear, 235/45 front
- Clear turn signals
- Painted body moldings
- Bright White bulbs for all headlights and driving lights
- Concealed radar detector installation
- Spare tire sub woofer from pioneer TS-wx50A ( on order from UK
-
New rear differential with 315 gearing
-
Removed Clutch salve(delay) valve
- Dinan Air intake pipe
- Dinan Rev II engine software.
- Total time involved 2 ¼ hrs
-
Dremel tool (optional)
-
¼ drive socket with 8 and 10mm socket
-
Small saws-all, (jigsaw will not work very easily
- Paint brush
- Plastic duct
cover (pn# 51718162562)
Pictures
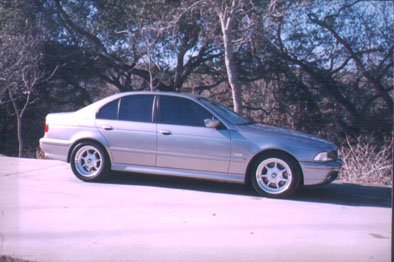
Shows recent painted
molding scheme
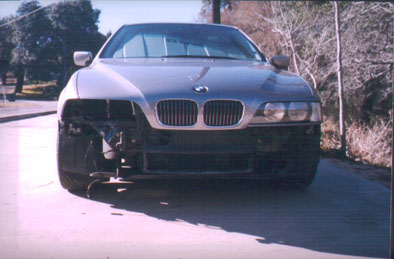
Passenger
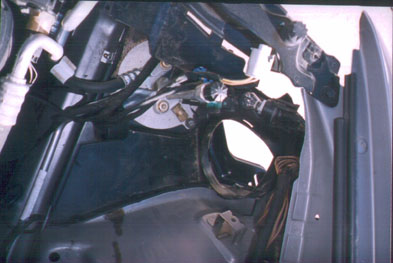
headlight / front bumper and old air-box removed. Note opening in radiator
where old air-intake was.
Shows metal which
needs to be trimmed
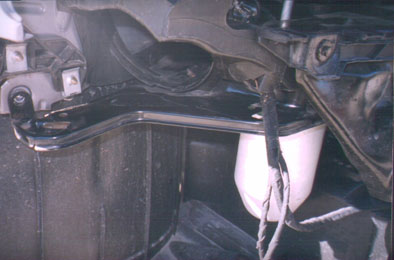
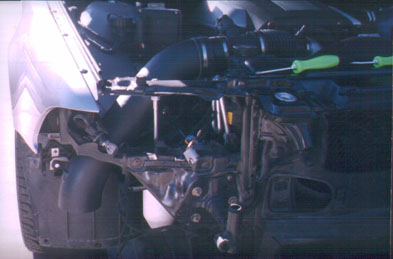
Shows metal tray
after cutting (keep tray bolted to body to prevent vibrations).
Apply two coat of touch-up paint, first coat must dry well then
apply thicker second coat and while wet attach rubber trim piece. Wet
paint will act as glue.

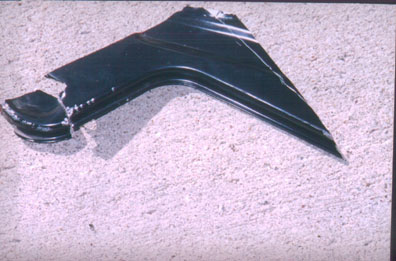
Part of the metal tray that was removed.
Shows plastic ring,
which also needs to be trimmed. Use very sharp x-acto knife and trim from
left and right side middle to the top middle, about ¾ needs to be trimmed
away.
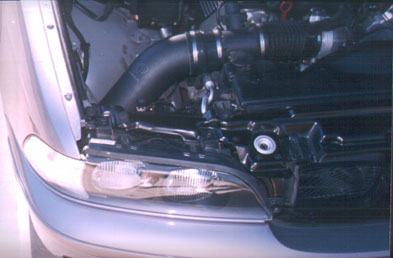
Installing the CAI
is easy, keep airflow nipple towards bottom and wiggle through
Shows completed
install
Additional notes:
-
¼ drive sockets make it easier to reach inner fender bolts that attach bumper, also prevent stripping of bolts. Lots of plastic here - Before removing headlight make small marks where all 4 bolts are, this will help with install and perhaps prevent having to re-aim headlight.
- Actual removal of bumper can take a hard tug, dont worry the bumper wont break, just be careful not to hit the ground.
- When installing filter on CAI make sure you install high enough on pipe to prevent any bumper rubbing.I installed filter just so the inside of filter does not touch the pipe. Its very obvious when you are doing this.
- Once bolted to the body the CAI can be moved slightly, if centering is required, (bracket bends) prevents rattles and rubbing off the finish of the CAI
- Use Sockets on all the hose clamps to ensure a better seal.
- Get a second
person to help with bumper install, it is very light and the other person
is mainly for aligning the brackets.
Takes about 5 minutes
- Dont forget to install fog light connectors, though the passenger side can be reached after bumper is installed.
-
Use Dremel tool if available for cutting out the small lower plastic grill. If not I suppose a x-acto knife and lots of time will work.