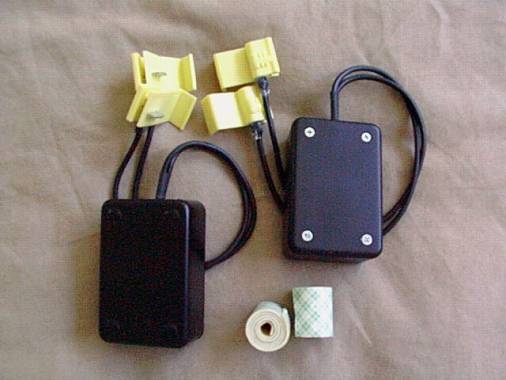
Here’s what is in the kit.
(4) wiretaps
(2) xenon upgrade fixes
(1) double sided tape
(1) instructions
To install them you will have to attach both leads to two
leads that connect to the ballast. Polarity
as far as positive and negative shouldn’t matter.
1.
Locate the blasts on the back of your head light assembly.
2.
Locate the 12 volt DC leads that
connect to the ballast.
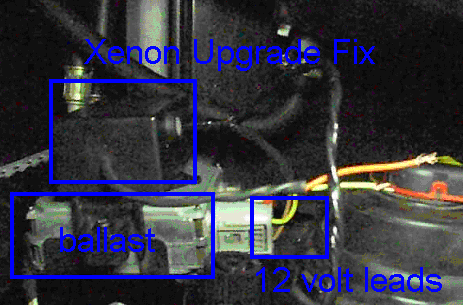
You can connect them by soldering the links as I have done
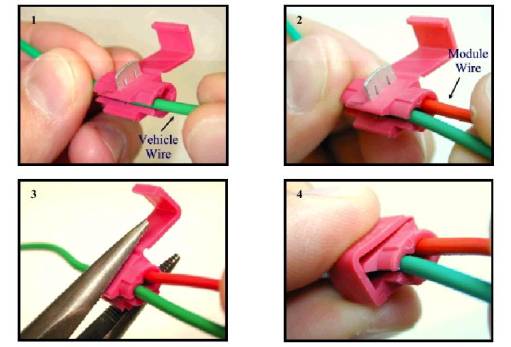
adding a connector for future maintenance and removal, or just crimp them
on using the enclosed wiretaps.
Then you can either screw the ballasts onto the ballast
bracket as in the picture then reinstall the bracket, or use the enclosed
double sided tape, or zip tie the boxes to the bracket.
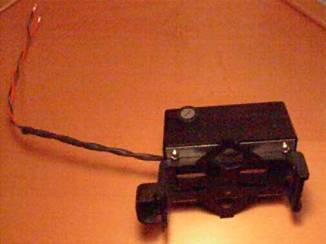
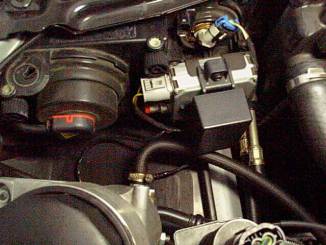
Here’s what it looks like installed.
